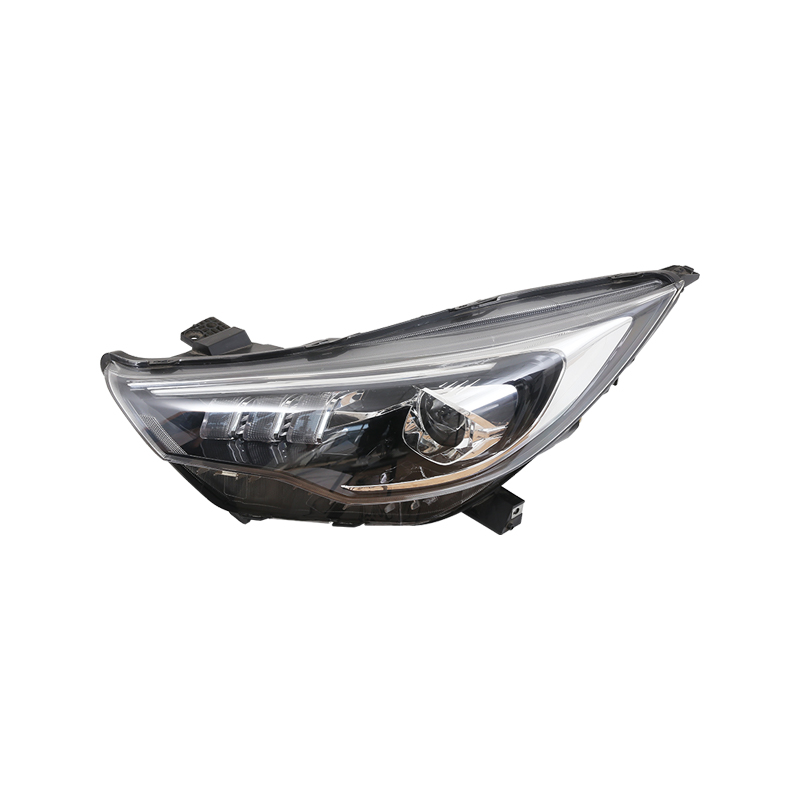
The auto light guide housing molding process is a critical aspect of automotive manufacturing, integral to the production of efficient and visually appealing lighting systems. This process involves several key steps and considerations to ensure the quality, durability, and performance of auto light guide housings.
Auto Light Guide Housing Molding Process Explanation
Design and Engineering: The process begins with meticulous design and engineering of the auto light guide housing. Designers use computer-aided design (CAD) software to create detailed 3D models that define the geometry, dimensions, and functional features of the housing. Factors such as light distribution, optical clarity, and compatibility with LEDs are carefully considered to optimize performance.
Material Selection: Choosing the right material is crucial for auto light guide housings. Typically, materials with optical properties, such as polycarbonate (PC) or acrylic (PMMA), are preferred. These materials ensure uniform light transmission while providing durability and resistance to environmental factors such as heat and UV exposure.
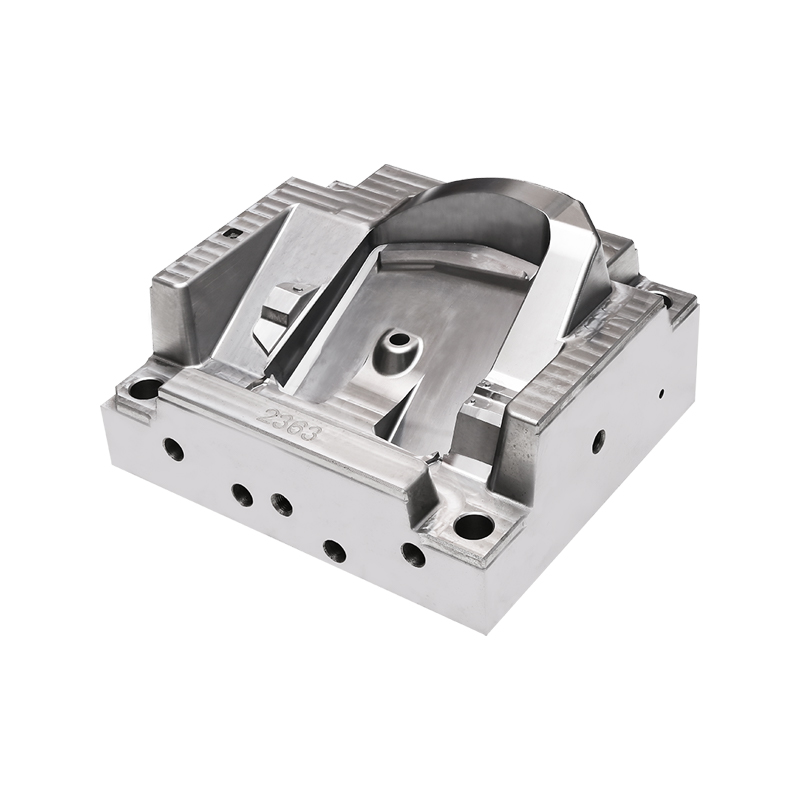
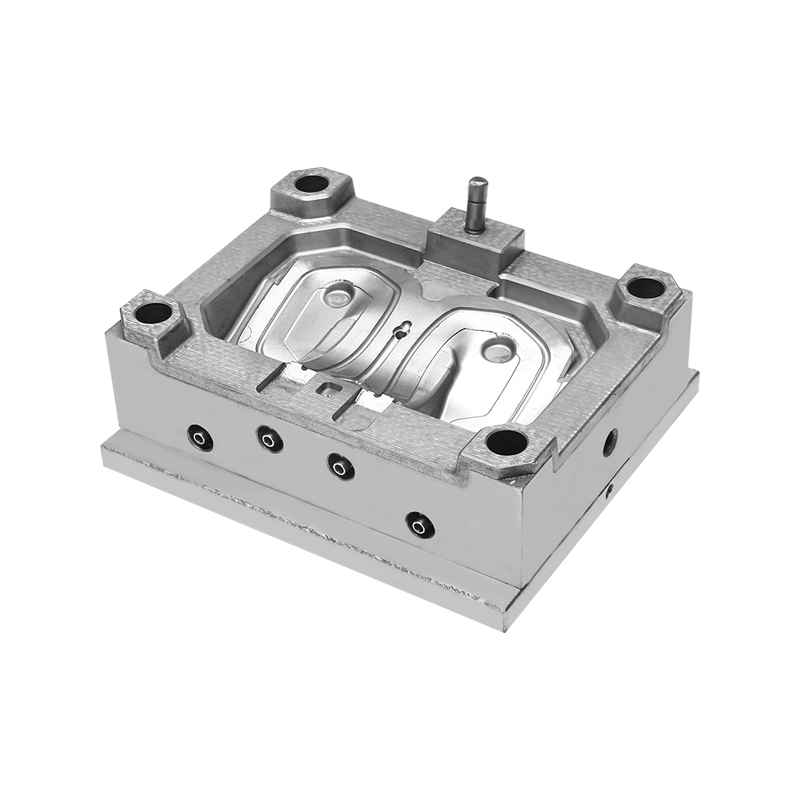
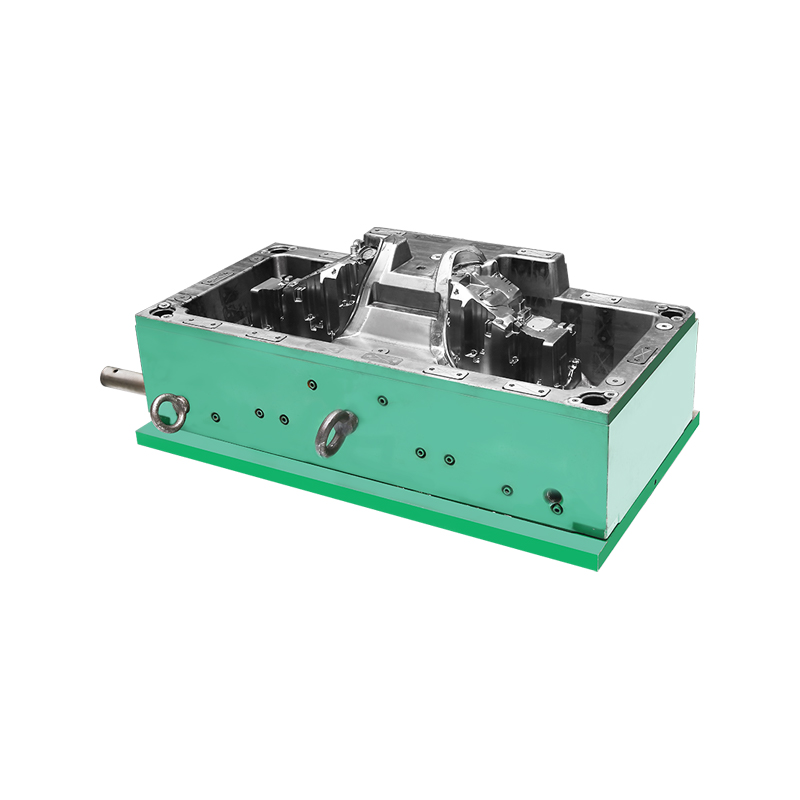
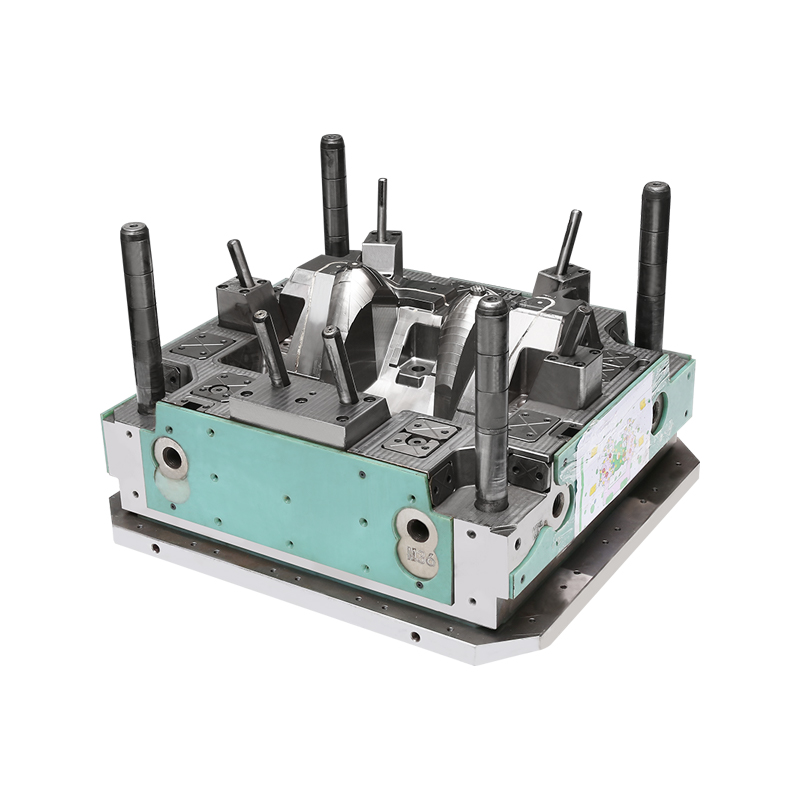
Mould Design and Tooling: Once the design is finalized, the next step is mould design and tooling. Injection moulds are crafted from hardened steel or aluminum using precision machining techniques. The mould includes cavities and cores that replicate the intricate geometry of the light guide housing. Advanced features such as cooling channels are integrated to control the mould temperature and optimize cycle times.
Injection Molding: During the injection molding process, the selected plastic resin is heated to a molten state and injected into the mould cavity under high pressure. This process fills the cavity and shapes the plastic material into the desired form of the auto light guide housing. The mould is held closed under pressure until the material cools and solidifies, ensuring the part maintains its shape.
Ejection and Finishing: Once the plastic has solidified, the mould opens, and the auto light guide housing is ejected from the mould cavity using ejector pins or plates. Post-molding operations such as trimming excess material, surface finishing (e.g., polishing), and assembly of additional components (e.g., LEDs, connectors) may follow to complete the housing assembly.
Quality Control: Throughout the manufacturing process, stringent quality control measures are implemented to ensure the auto light guide housings meet design specifications and industry standards. Dimensional accuracy, optical clarity, surface finish, and functional performance are evaluated through visual inspection, dimensional measurement, and functional testing.
By following these steps meticulously, automotive manufacturers can produce auto light guide housings that not only enhance vehicle aesthetics but also contribute to safety and efficiency by ensuring light distribution and visibility on the road.
Plastic Injection Molding Mold Tooling
Plastic injection molding mold tooling is a fundamental component of the manufacturing process, essential for creating precision-molded plastic components used in various industries, including automotive manufacturing.
Tooling Design: The tooling design phase begins with the development of detailed 3D CAD models based on product specifications. Tooling engineers design moulds that incorporate cavities, cores, runners, gates, and ejector systems. These components are crafted from high-quality materials such as hardened steel or aluminum alloys to withstand the rigors of injection molding.
Tooling Fabrication: Precision machining techniques, including CNC milling and EDM (Electrical Discharge Machining), are employed to fabricate the mould components to exacting tolerances. Advanced tooling equipment ensures intricate details and smooth surface finishes, essential for producing high-quality plastic parts.
Mould Assembly and Testing: Once the individual components of the mould are fabricated, they are assembled into a complete injection mould. Assembly involves integrating components such as cooling channels, alignment features, and heating elements as required. The assembled mould undergoes rigorous testing to verify functionality, including mold open/close cycles, temperature control, and material flow simulations.
Injection Molding Process Integration: After successful testing, the injection mould is installed in an injection molding machine. The machine heats the plastic resin to a molten state and injects it into the mould cavity under high pressure. The mould is held closed until the plastic solidifies, forming the desired shape of the plastic part.
Maintenance and Optimization: Continuous maintenance and optimization of injection moulds are essential to prolong tool life, ensure consistent part quality, and reduce downtime. Regular maintenance includes cleaning, inspection for wear and damage, lubrication of moving parts, and replacement of worn components as needed.

 English
 中文简体
中文简体 русский
 Español
